News
Understanding Construction Grouts
July 25, 2021
Whilst construction grouts are common on many construction sites, the technologies behind them and their typical applications are often shrouded in “brand name” mystique. Here we aim to provide a little better understanding of the basic materials and each’s versatility on-site, helping to demystify the product ranges and make it easier to apply the best product to your next job.
Adjuvate has almost 30 years direct experience in the development, manufacture and supply of a range of specialty construction grouts. Our strong toll manufacturing relationships have seen us produce well over 1,000T a year of numerous products for more than a decade. The Adjuvate ConGrout range of construction grouts have a long performance history having been specified heavily throughout Australia, the Pacific and Asia.
There is a general industry misconception that construction grouts require specialist equipment and must only be installed by product experts. Whilst there are applications that could require specific knowledge or equipment, for the majority of situations a general contractor is more than capable of following the few basic principles that lead to application success!
Construction Grout’s, what are they?
As a general description, cemetitous construction grouts are cement and aggregate blends that have been modified, in one way or another, to provide specific characteristics designed to enhance their use in differing construction applications.
More highly engineered construction grouts require modification/s to overcome workability, ultimate strength and shrinkage shortcomings inherent of more basic grouts.
As designers of specific grouting systems we employ numerous combinations of modification technologies to achieve the required product characteristics.
These can include:
- Specialist cement products
- Close grading of selective aggregate sizing
- Specialised inert fillers
- Pozzolan addition (Fly Ash, Silica Fume, Blast Furnace Slag)
- Set accelerators or retarders
- Hydration modifiers
- Shrinkage compensation or expansion additives
When the manufacturer’s directions are followed and water is added to the product a series of one-way chemical reactions are initiated that result in the required final properties of the grout.
Firstly, the hydration modifiers (superplasticisers) disperse throughout the mix, fluidising the product and rapidly ensuring that all parts of the mixture receive the water required to initiate the further reactions.
The water encourages the cement to react with the various minerals within the formulation, often referred to as pozzolans, causing them to link with the cement and sand aggregate particles.
Any retarding systems will then initiate as the cement and other ingredients inter-react to start forming crystalline structures. These systems are designed to overcome and slow the cement’s chemical reaction and provide for a longer working time.
At the same time reactions start to minutely grow the slowly hardening cement matrix while still in the wet ‘plastic’ stage. Shrinkage compensation or expansion aids promote growth to positively increase volume or offset the shrinkage that occurs with conventional mortar or concrete.
As the crystal growth continues and final set is achieved the compressive strength of the system begins to increase until final measurements can be achieved at 28 days.
Engineered construction grouts are generally classified by the method utilised to provide expansion or offset plastic shrinkage. Cementitous grouts will generally fall within 5 types or classes. We will concentrate below on Class’s A and C being by far the most commonly used;
Class A
These products expand through the formation of a micropore gas that is a result of the reaction of the cement componentry and a very small quantity of a metal oxide or refined mineral.
Often referred to as GP Grout, this class is the most commonly found on construction sites and is user friendly, versatile and economical.
Class A grouts are not typically suitable for long distance pumping and the formed micro gas agglomerates to form larger bubbles which weaken the final placement.
Adjuvate ConGrout A includes additional materials designed to promote secondary crystal growth in setting grout. Average total expansion is shown to be in excess of 3%.
Class C
These systems utilise additions that create expansion through growing crystals within the setting phase of the grout and beyond. The growth rate of these crystals is engineered to neutralise the natural shrinkage of more standard concrete formulations. Class C grouts commonly employ minimal expansion aids which result in negligible shrinkage when compared to standard mortar and concrete. Class C grouts are sometimes referred to as limited shrinkage grouts.
More suited to pumping applications and often formulated as a dual Class C-A grout to reap the benefit of both technologies.
Adjuvate ConGrout C is engineered as a neutral expansion grout in that it exhibits net zero growth or shrinkage once cured.
How to use construction Grouts
Always wear appropriate PPE and be sure to read, understand and follow the manufacturer’s instructions for the specific product being used.
Careful consideration has been completed by the manufacturer as to water requirement, mix, working and set times to ensure the product complies with specifications and expected characteristics.
It is always a best practice to mix whole containers of product, ideally with a slow speed power mixer and suitable paddle. Grout mixers are also available when larger quantities of grout need to be placed at one time.
Using clean water, add the correct volume to a clean mixing vessel, slowly add approximately half to three quarters of the powder whilst mixing,mix until virtually lump free. Add the remaining powder and mix for the remaining time nominated by the manufacturer.
Thorough mixing is required to ensure that all of the reactive ingredients are effectively dispersed in the grout.
Place the mixed material immediately by pouring, trowel or pump etc. Work into place before the product starts to harden.
Grouting Do’s
- Ensure the application area is clean and free from all contaminants.
- Scabble aged or dirty substrates to improve adhesion of new material.
- Pre-wet substrates but do not leaving standing water.
- Install form boards or shutters as required to ensure full constraint and fill.
- Ensure that the installed grout is appropriately cured to allow hydration and full strength development. Water, builders plastic or a curing compound such as Adcure A should be employed for at least 24hrs.
Grouting Dont’s
- Don’t over water material beyond manufacturer’s recommendation.
- Don’t add more water to hardening grout in an attempt to re-energise it.
- Don’t attempt to accelerate, retard or modify the mixture without manufacturers advice.
- Don’t install cementitous grouts in temperatures below 7°c or above 35°c.
- Don’t install grout in direct contact with aluminium as it can result in galvanic corrosion.
- Never use dirty or salt water.
Confidently install construction grouts, being sure to follow manufacture’s instruction and industry guidelines in the following applications:
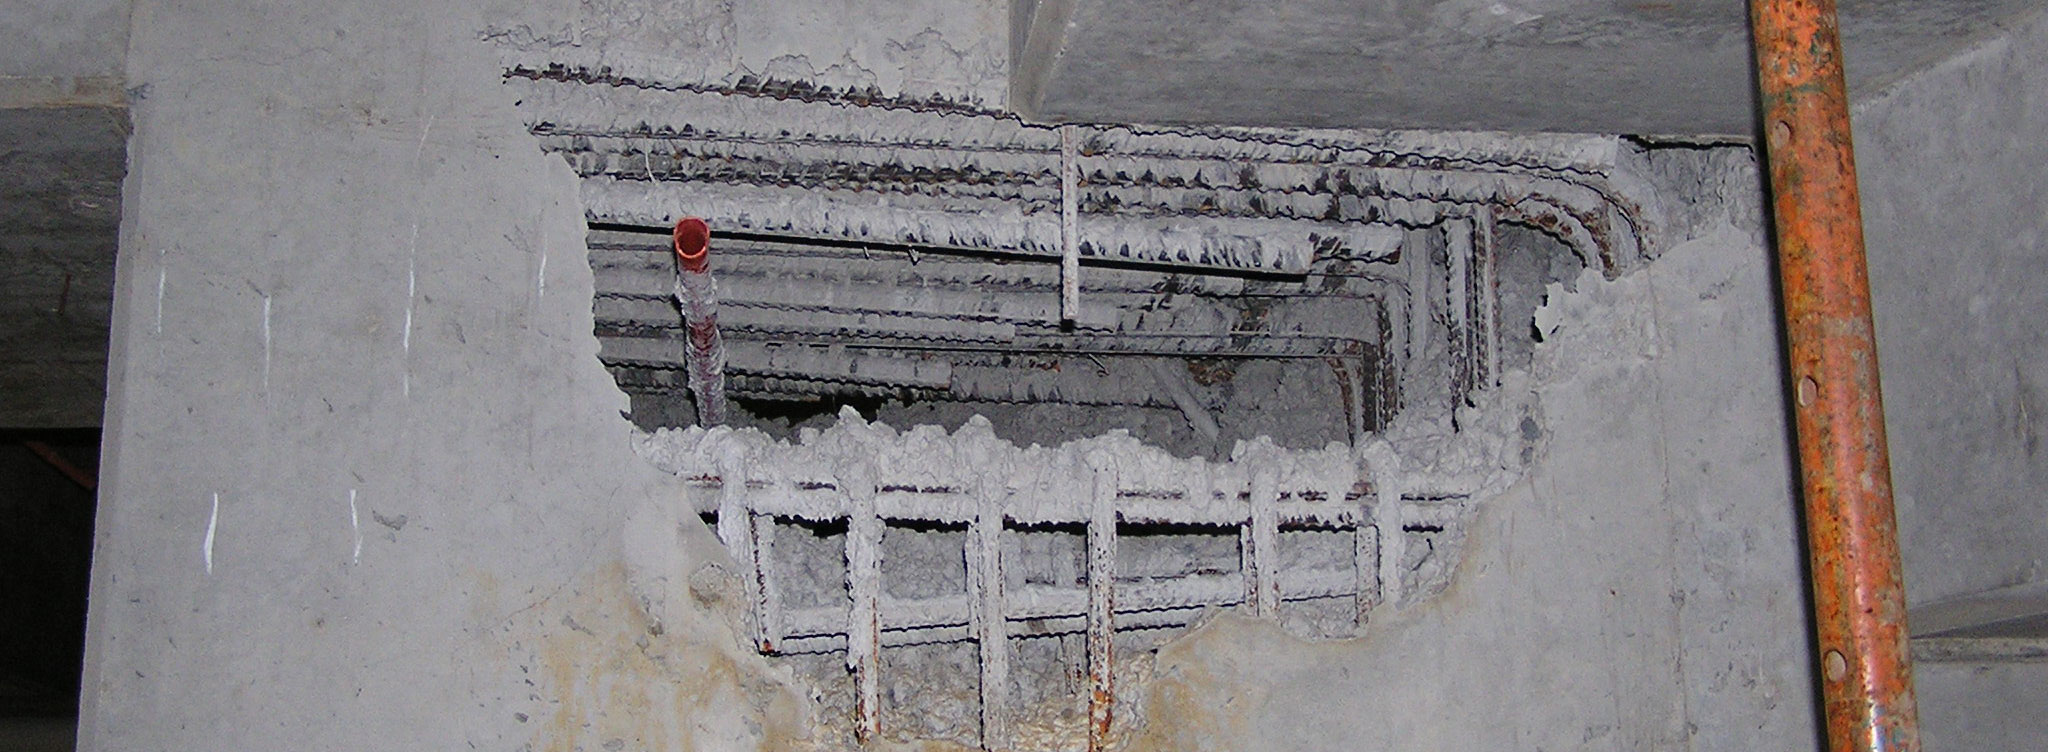
- Repair damaged or incorrectly poured concrete
- Under machine base plates or bearing beds
- To support portal framing or non-aluminium or copper pipe and posts
- To infill wall or floor chasings
- Slab dowling, as specified
- Tilt slab joint interfaces that do not require expansion jointing
- Balustrade posts etc
For further information or assistance with specifying please contact our customer service team.